Kitchen Cabinet Declutter in Five Steps
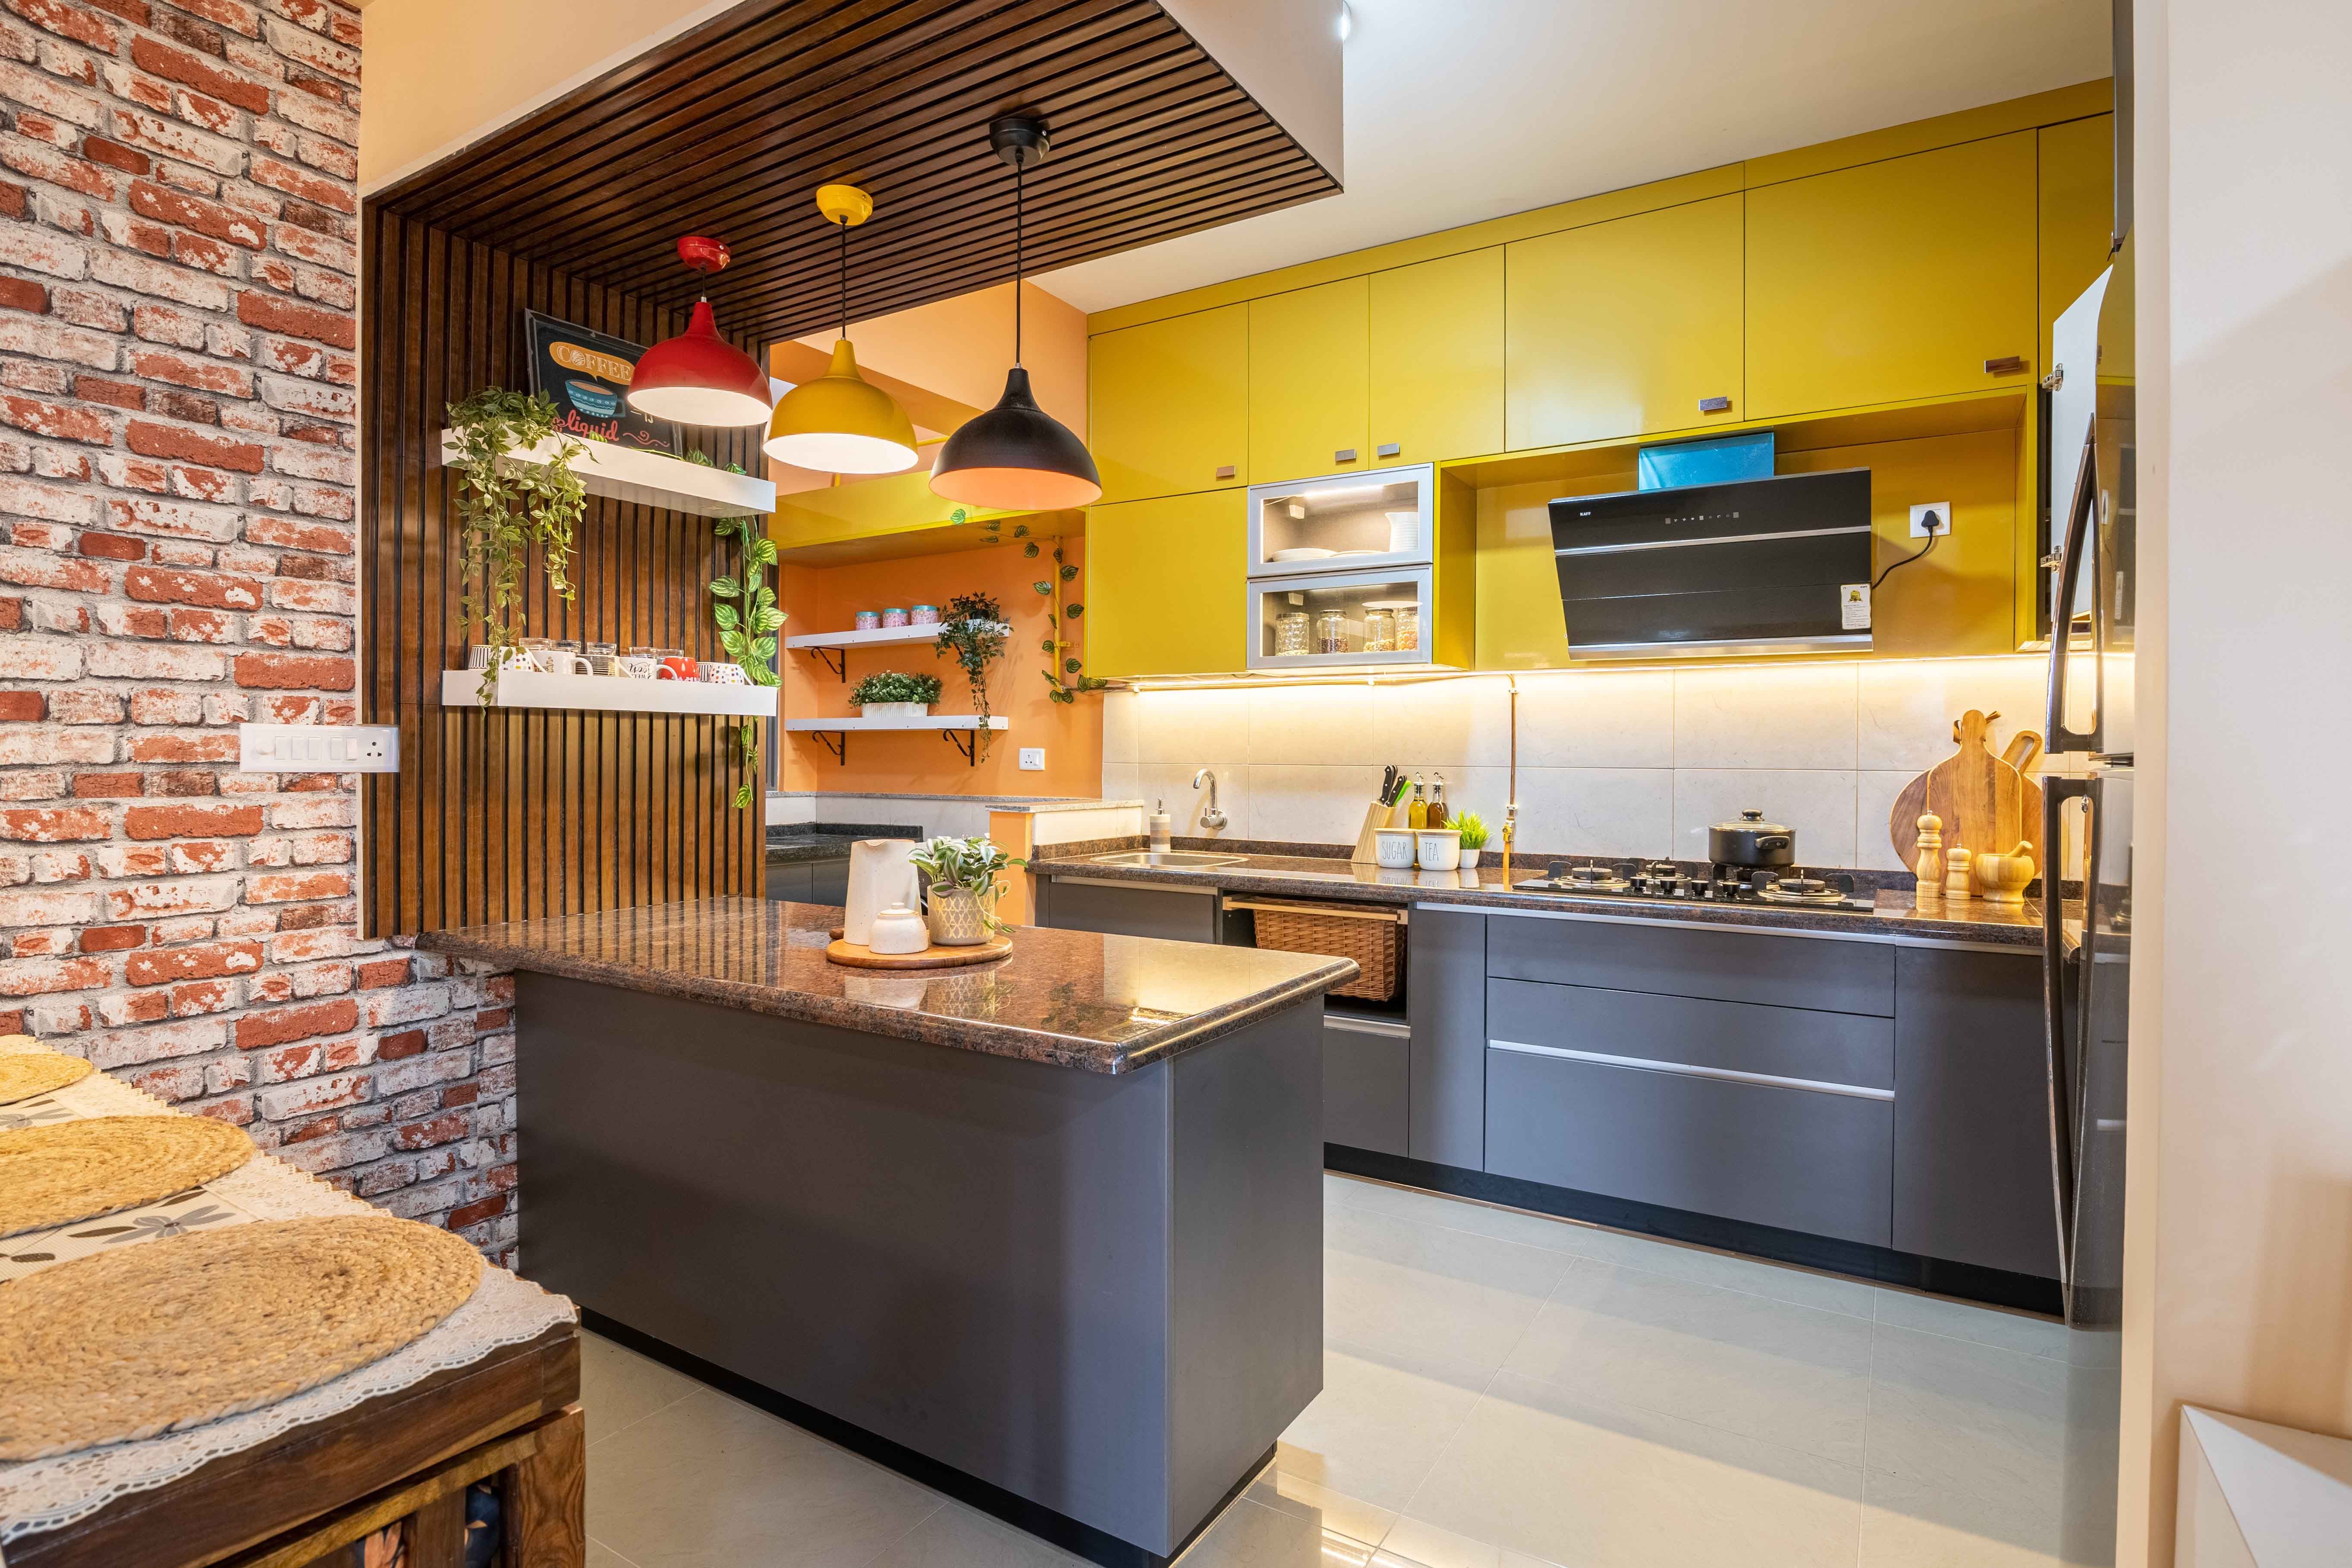
You can complete a full kitchen cabinet declutter in five simple steps using basic supplies you already have at home. This process takes about forty five minutes for a standard set of upper and lower cupboards. Clear your counters first so you have a flat space to work on.
How to declutter kitchen cabinets fast
Start by pulling everything out of your upper and lower cupboards and place the items directly onto your clean kitchen counter. Do not skip this step, because trying to organize around existing clutter never works. Sorting items in open space lets you see every single plate, mug, and plastic container you own.
Set a timer for ten minutes while you empty the spaces. Group similar items together on the counter as you pull them out of the dark corners. Keep all the baking items in one spot, cookware in another, and daily dishes in a third area. This gives you an immediate picture of what you actually have.

Sort your items into clear categories
Once your cupboards are completely empty, check every item carefully before putting anything back. Throw away any expired foods, broken plastic containers, and chipped mugs that you do not use anymore. Toss out plastic lids that do not have a matching bottom, as these take up extra space without adding any value to your daily routine.
Create three distinct piles on your kitchen table or floor to keep the process moving quickly without getting overwhelmed. If you want to learn more about basic home management, you can read about housekeeping to help set up a regular home care routine.
- Keep pile: Items you use every single week for cooking or eating.
- Donate pile: Duplicates, extra travel mugs, and appliances that work well but sit unused.
- Bin pile: Cracked plates, melted utensils, broken glass, and stale ingredients.
Clean the inside of every shelf
Wipe down the bare wooden or laminate shelves using a warm microfibre cloth and mild dish soap. Dust, flour, and dried spills gather in the back corners over time, so give those areas extra attention. Allow the shelves to dry completely for ten minutes before putting any items back inside.
Using basic cleaning methods like simple soap and water keeps your food prep areas safe and free from strong chemical smells. If your shelf paper is peeling or torn, pull it out today and leave the wood bare until you buy fresh liners. Clean surfaces make your kitchen feel lighter immediately.
How do I organize my kitchen cupboards efficiently?
Put your items back into the cabinets based on how often you use them each week. Place daily dinner plates, cereal bowls, and drinking glasses on the lower shelf of your upper cabinets for easy reach. Put heavy mixing bowls and large stock pots in the lower cupboards near the stove.
Keep your daily items within easy arm reach, and move seasonal or special event items to the top shelves. This simple system keeps your counters clear and cuts down on dinner prep time every night.
- Top shelves: Tall vases, baking dishes, and cake stands used twice a year.
- Middle shelves: Spices, baking supplies, tea, coffee, and small food containers.
- Bottom shelves: Daily plates, water glasses, coffee mugs, and cereal bowls.
- Lower cabinets: Heavy frying pans, cutting boards, strainers, and sheet pans.
Maintain your tidy cabinets every month
Keep your kitchen cabinets organized by doing a quick five minute check at the end of every month. Before you go grocery shopping, take two minutes to stack your storage containers and toss out any missing lids. Put rogue items back in their assigned spots so clutter does not build up again.
Assigning one permanent home for every pot, pan, and dish stops future mess before it starts. When every item has a clear spot, unpackaging groceries and putting away clean dishes takes half the time. Stick to this simple layout to enjoy a calm kitchen every day of the week.


Comments
Post a Comment